

How to Cut Peel and Stick Ceiling Tiles Like a Pro: A DIYer's Guide
|
|
Time to read 5 min
|
|
Time to read 5 min
If you want to upgrade your bedroom or dining area, peel and stick tiles are a great option. They are affordable and come in a wide range of trendy designs, making them popular with renters and DIY enthusiasts.
While they may seem easy to install, the cutting of these tiles can make or break the overall look.
Incorrect cutting results in poor adhesion and noticeable seams that spoil the final look. But don't stress out; this article is a complete guide on how to cut ceiling tiles. Keep reading!
Table of content
Many people often ask why precise cutting is important when you DIY ceiling tiles. Well, here are some potential reasons:
Before you start the "how to cut ceiling tiles" process, here are some tools you must get to avoid any interruption:
Protective Gloves: Shield your hands against any damage or cuts.
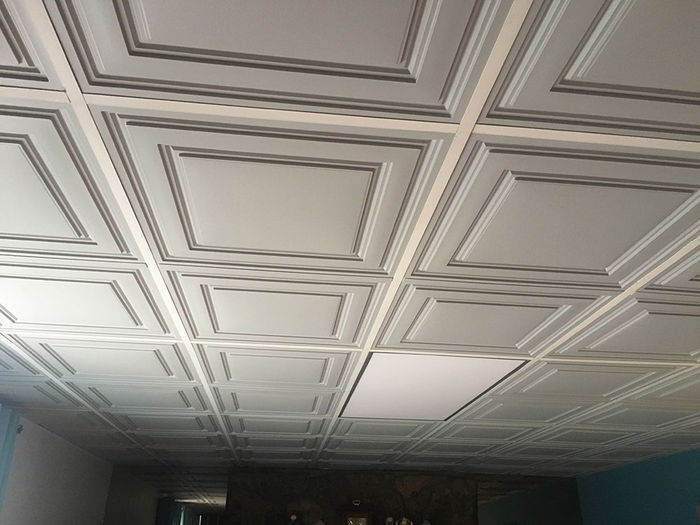
Do you know that nowadays more and more people are using peel and stick tiles? The self-adhesive tiles market size is expected to reach a massive USD 9.4 billion by 2032. If you are also going to install these tiles on your ceiling, here are some tips that will help you do that like a pro:
Start by measuring the overall width of your ceiling to get an idea of the overall square footage or area that needs covering. However, don't strictly stick with the calculations and add 10% extra for trimming, in case you make errors.
Carefully clean and dry the ceiling surface. Wipe down dust, debris, and any greasy residue that may lower the adhesion of the peel and stick tiles.
Mentally divide the ceiling into 4 parts and start from the center to have balanced and well-fitted tiles. Use a tape measure to calculate the length and width of the tiles, and use that guide to draw layout lines on the ceiling.
Leave the peel and stick tiles in the room for approximately 48 hours to allow them to adjust to the room's temperature, which will help prevent adhesion issues later. Mark the cutting lines on your tiles with chalk using a measuring tape or stick. Once you have finished marking, use the utility knife to cut the tiles along the drawn chalk lines.
Note: For thicker PVC or foam tiles, you may need to make cuts twice or thrice and apply slightly more pressure than with thin stick and peel tiles.
It's time to lay the tiles, but before removing the backing, place them in the layout to check if they fit. If the tile is too large, cut it from the corner or side to ensure it aligns.
Take off the adhesive backing and put the tiles on the ceiling. Press on the tiles with your hand firmly for better stickiness and avoid misalignment. You can also use a rolling pin or ceiling roller to adhere the cut ceiling tiles, and that's all!
While the overall process to cut ceiling tiles and their installation is easy, there are some common mistakes that you may make and need to avoid, such as:
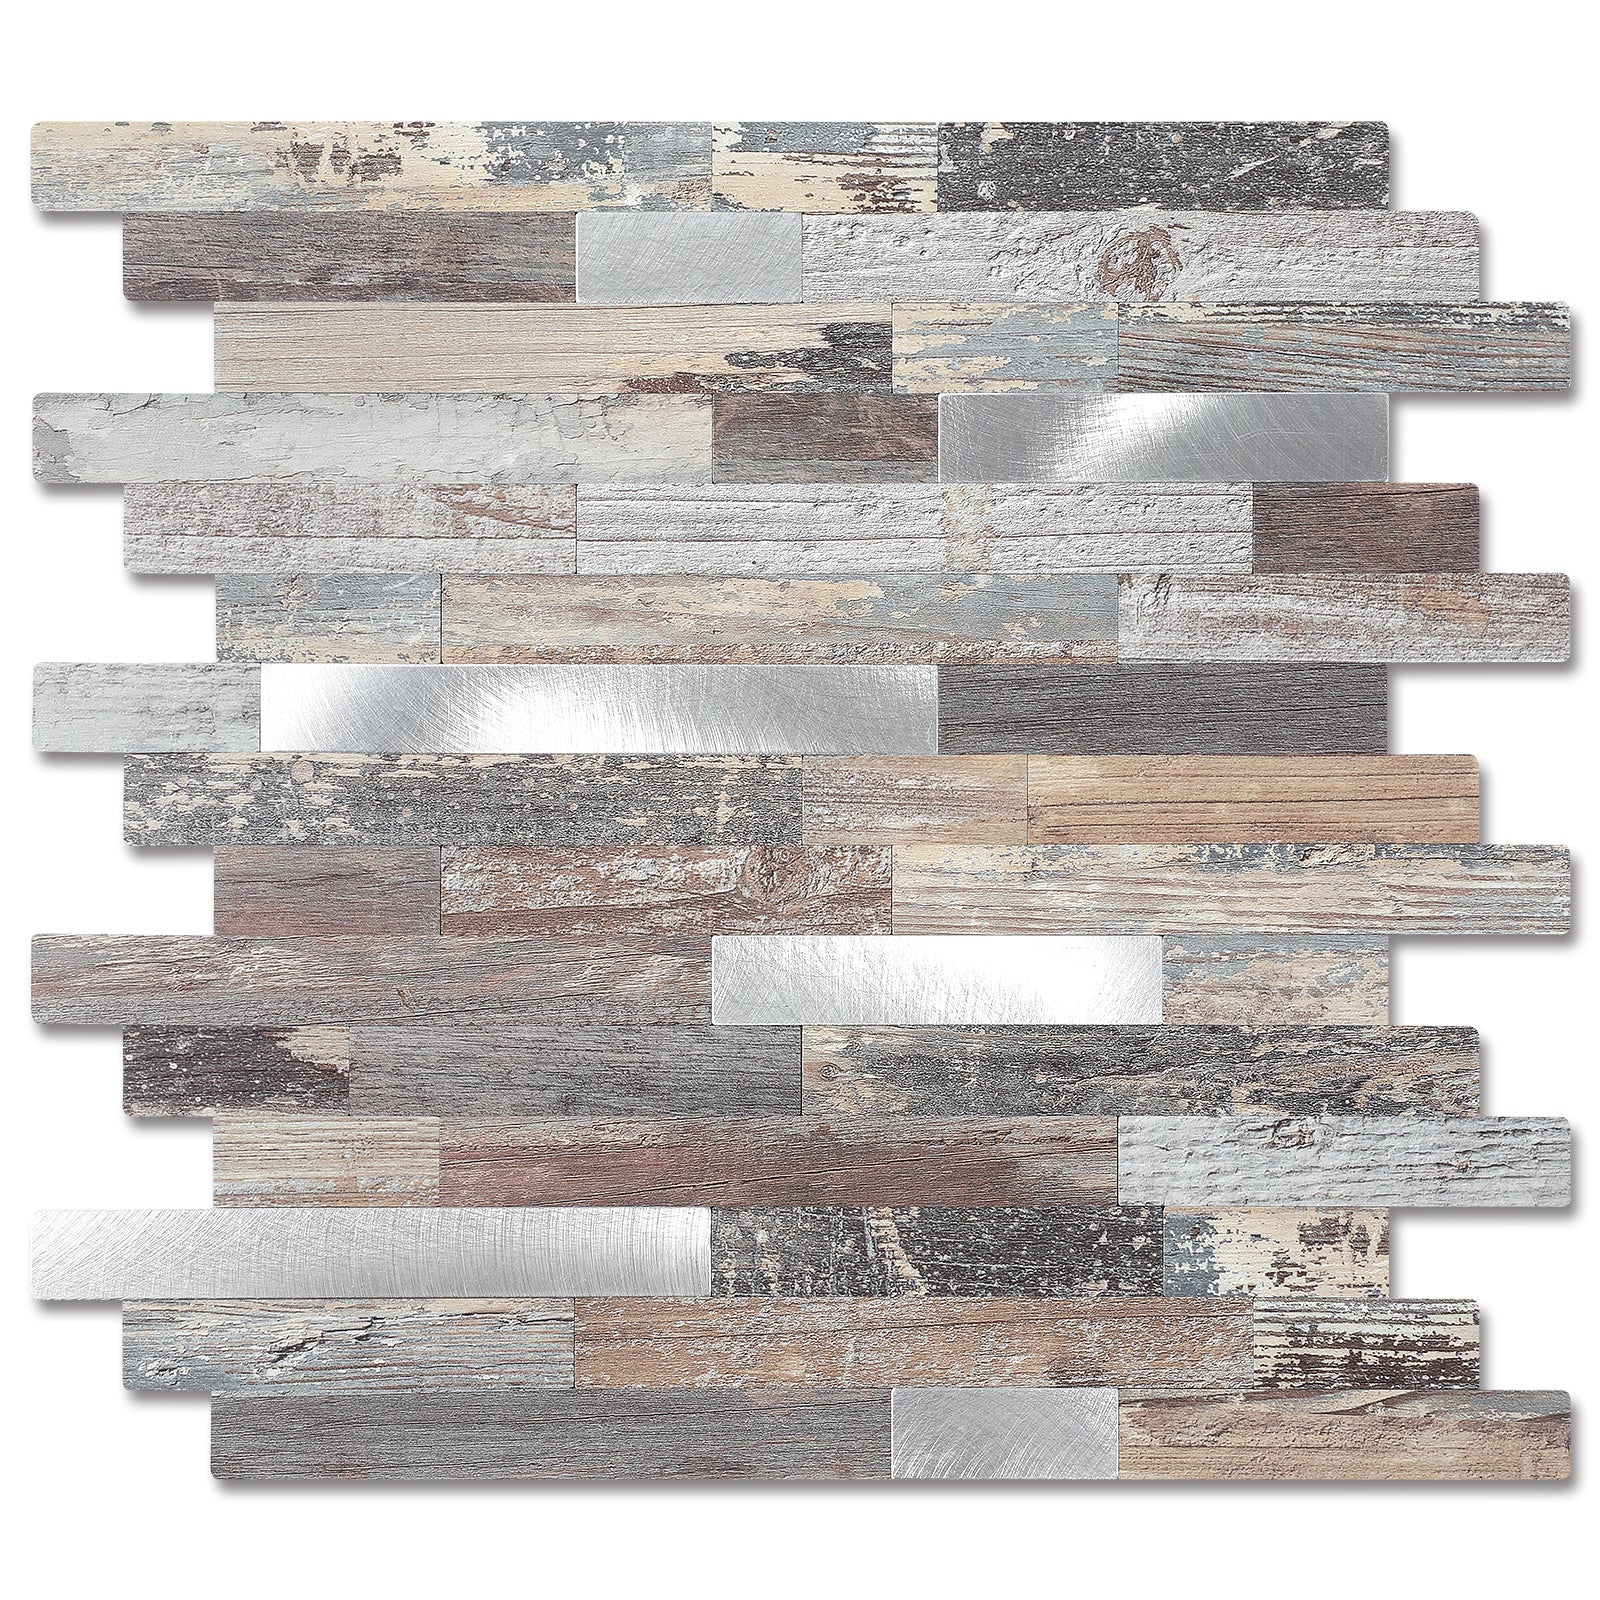
RECOMMENDED PRODUCTS
Yes, you can use scissors to cut peel and stick tiles, especially thin vinyl types, and to make intricate shapes.
You should cut ceiling tiles with the front or decorative side facing up, ensuring you don't damage important designs.
If you accidentally cut the wrong tile, you shouldn't stick it to the ceiling and replace it with a correctly measured one.
To cut very thick tiles, you should use a wet saw, as it can handle thick and durable materials and make slow, precise cuts.
To cut a perfectly round hole for a pendant light or smoke alarm, you should use a hole saw, as it can make precise circular shapes.
The whole process of "how to cut peel and stick ceiling tiles" is simple if you have the right tools and follow the step-by-step guide. If you are trying to breathe new life into your house or office using DIY ceiling tiles, visit YIPSCAZO! We have a bundle of advice on the way you can cut ceiling tiles and make your interior look visually appealing.
Ready to elevate your skincare game?


